
There’s no question that art transforms your home like few other design elements can. Hung art defines your personal aesthetic. It says, this collection is important enough to see every day of our lives. You’ve probably felt the frustration before: A blank wall stands, undecorated. Pieces of art wait nearby, bright but unused. Time passes. Where do you start? Take heart, there is a right way to hang art.

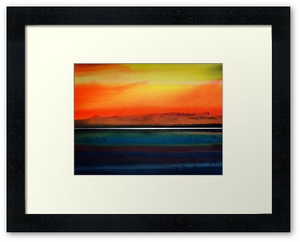
Heaven on Earth Original Watercolour Acrylic Painting.
Now you have selected a beautiful piece of art to complement your interior, it’s time to hang it. Here are some top tips to keep in mind:
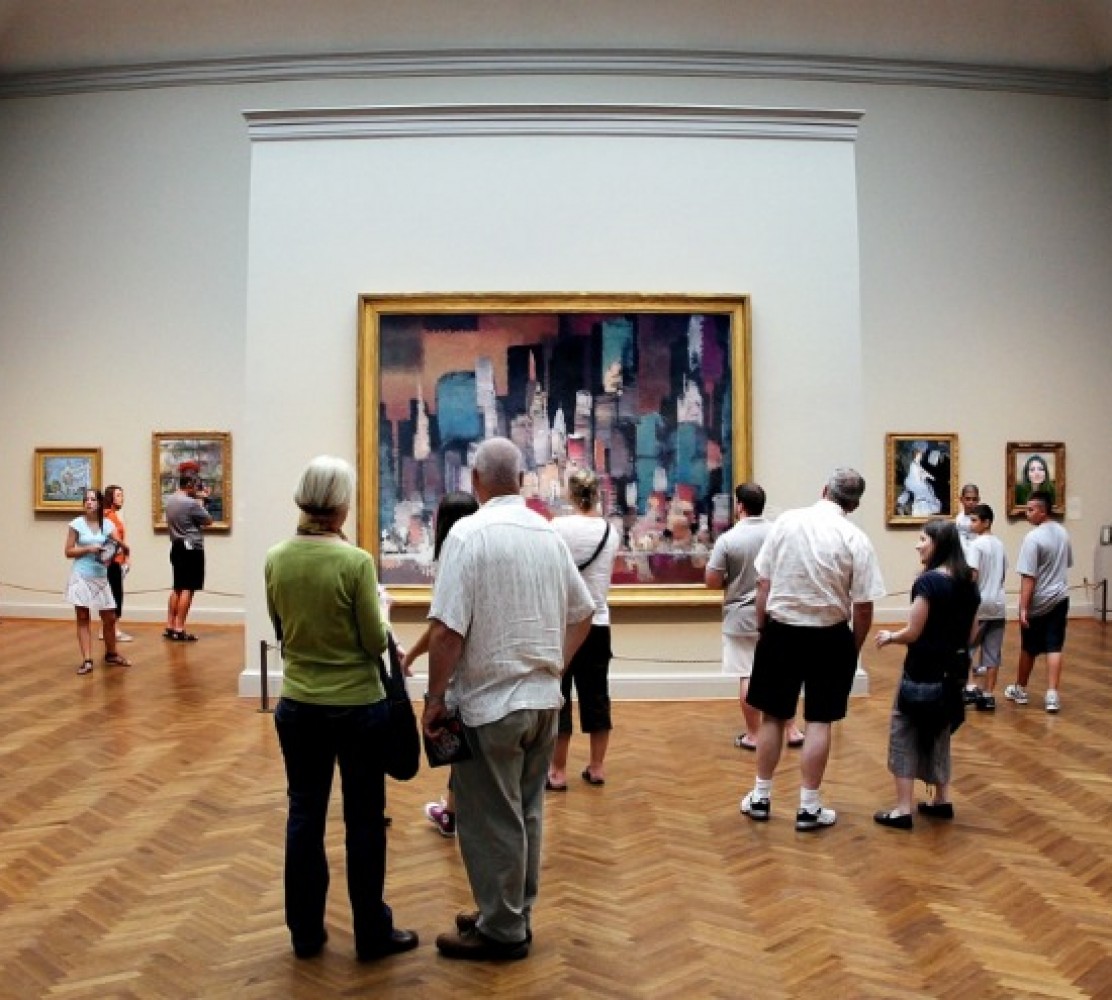
Avoid hanging one small picture on a huge expanse of wall – art looks better when it seems to extend the lines of furniture, windows or doorways. Once you’ve chosen pieces, scout out possible hanging locations. If you’re developing a grouping, test your placement on the floor first. Groupings should start higher, because you’ll be adding pieces as you go along. In general, larger pieces look better on top, smaller ones on the bottom. Offsetting works in a collection, but if you’re trying to achieve simplicity, then don’t be afraid to line things up.
Decide where to hang the artwork, keeping in mind the type of feel you’d like your room to have. The way in which you hang art can make a big difference. Smaller pieces hung together will overwhelm a small room. However, grouping multiple pieces in a larger room adds interest. The right piece of art also makes nooks and crannies more warm and inviting.
Art tends to look best when it seems to extend the lines of furniture, windows or doorways, or when several small pieces are grouped together.
Sketching the wall, furniture, and artwork on graph paper beforehand can help you decide where to hang your art by allowing you to visualize the final room and by conveying the size and the scale of the pieces you are working with.
Large pictures look best countered over sofas or consoles. They are meant to be the focal point of the room and work well within a large expanse of wall space. Allow 4 to 5 inches from the top of a sofa, slightly higher for a console.If there’s one thing that people consistently get wrong when it comes to placing art, it’s hanging height. You may have heard that artwork must be hung at eye level. Not true. Pieces should be placed in relation to what’s under and around them. Typically, art is hung too high and should be lowered. If your ceiling is 15 feet high, for instance, pictures should still hang just 5 and a half feet off the ground. Above-mantle pieces, if the art isn’t leaning, it should be hung approximately 6 inches over the mantle. Leave 10 inches clearance above sofas and headboards. Be wary of hanging anything above arched furniture, because the lines conflict.
Also be aware that how you display your art is as personal a statement as the work itself. For example, you may want to hang a painting where it’s visible to you when seated in your favourite reading chair.
Once you’ve decided where you’d like to hang your art, measure to find the centre of the piece. Allow for the drop of wire, and make a mark on the wall where you will put the hanger.
To hang art, a tape measure, hammer and small nails are essential. If the art is heavy, you’ll need wall anchors, likely two per painting. Some people use picture hangers with integrated hooks, which are inexpensive and effective, but no better than a nail, in my experience.
Use a pencil or tape to mark the top of the frame while your partner experiments with different heights, then measure off the distance from the top to the nail cross wire. This is where you insert the nail.
If you really want to be sure of nail placement, I recommend cutting butcher paper to represent the pieces, hanging it and leaving it up for a few days to get a feel for it before you do any hammering.
Hanging Art Securely If you’re concerned about securing the hang, either because of child safety, or other structural reasons, you’ll want to secure the work to the wall with hardware mounted on both sides.
Using hooks with holes, insert nails or screws and hang the piece directly on them. This method does require more accurate measurements and time.
What you put on your walls will change the way you feel about your home, and offer a window into your life for you and your guests to enjoy.
Use more than just nails. Choose an appropriate hook. You might want a two-piece nail-and-hook, or a one-piece hook with a disk that keeps the straight part from going completely through the wall. Heavier art should be hung with a hollow-wall anchor. A picture hook will protect your walls and bear the weight of the picture. If this sounds confusing, the easiest thing to do is purchase a picture hanging kit at your local hardware store. It contains everything you need to hang your art.
You can prevent the plaster or drywall from cracking by placing a piece of Scotch tape on the wall where you will insert the hook. Use a carpenters level to determine where the hooks should be placed. Your painting will remain straight without constant vigilance.
If your artwork is particularly heavy and you are hanging it on drywall only, you may want to use a stud or beam to hang your art. A stud is a slender wood or metal vertical structure that is placed as a supporting element in a wall. However, your standard nail and anchor hook that comes in a picture framing kit will suffice.Nail the picture hook into the wall where you’ve made a mark and carefully place the artwork on the wall, catching the wire on the hook. Straighten, step back, and enjoy.What you put on your walls will change the way you feel about your home, and offer a window into your life for you and your guests to enjoy.
